It's Auntie Geraldine's 95th birthday and although Auntie lives in Montana and you live in Miami, FL, you are determine to treat your sweet loved one with a box of homemade cookies. You've toiled long hours pouring love into each step of the baking and decorating process and now it's time to ship these tiny messengers of birthday salutations to Auntie. Suddenly, the horrifying image of your cookies being tossed onto a pile of battered boxes in the back of a UPS truck, sets your stomach upside down. Oh the horror! What to do? If you're at the point of checking your bank account to see if you can fit a flight to Montana in your budget, put your mind at ease because an ounce of prevention is worth a pound of cookie crumbs. Here is my personal method for shipping cookies. It is not a 100% guarantee that every cookie will arrive unharmed, but in my experience most, if not all are safe and the few damages that have been inflicted were minor. I've never had a loved one or customer receive a delicious box of crumbs.
Supplies
box to hold cookies
larger box to hold box of cookies plus packing material
sheets of bubble wrap
card board scraps
scotch tape
newspaper, or shredded paper, or decorative tissue paper, or peanuts, or cloth, etc.
shipping tape
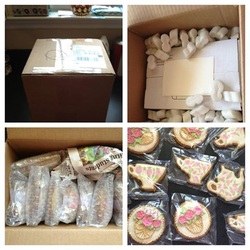
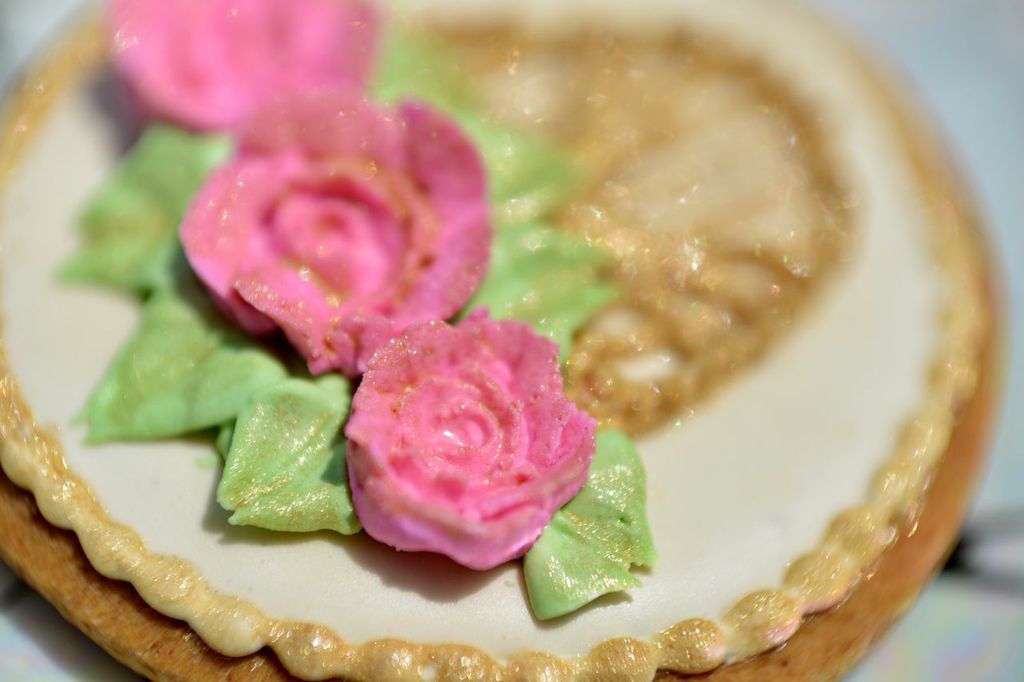
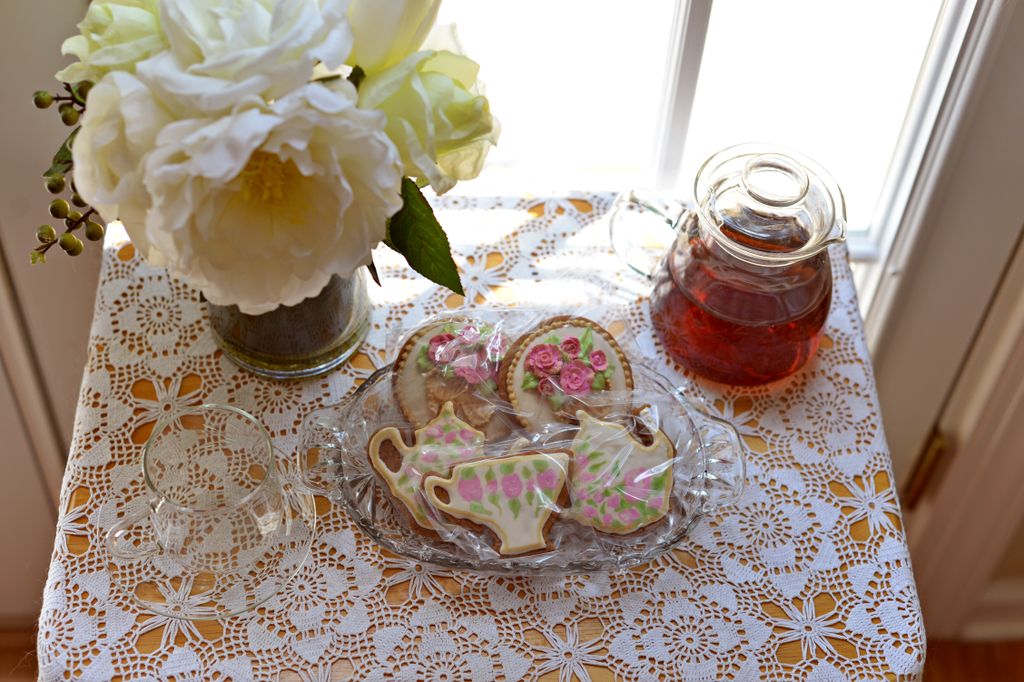
Once your cookies are ready for packing, individually wrap each cookie. I like to seal my cookies with a heat sealer in small plastic bags but plastic wrap works as well. If you have larger cookies or cookies with fine extensions that can easily break, cut little pieces of cardboard that are just slightly larger than the cookie and lay the cookie on this before sealing in a bag or wrapping with plastic wrap. You can place two cookies with a piece of cardboard sandwiched in between. If your cookies aren't decorated or don't have a gooey top, you can stack them on top of each other and wrap them together.
Next, cut your bubble wrap so it will completely wrap around two cookies placed back-to-back or in the case of stacked cookies, around the lot, and then tape the bubble wrap securely. Once all the cookies are wrapped, place them into the smaller box. It's better not to pile cookies on each other as the weight of each other may cause breakage, so place them vertically in the box. If you have stacks of cookies, lay them on one side so all are vertical. You can line this box with bubble wrap or some other cushioning material if you so desire. Fill in any gaps between cookies and the box with packing material and then seal the box shut with shipping tape.
Take your smaller box and place it inside of the bigger box to estimate how much packing material you can fit around it. Remove the smaller box and line the base of the larger box with your chosen material, such as peanuts or newspaper. Now place your smaller box in the center of the padding and add more cushioning around the sides and on top of the box until it is completely encased in buffering material. Close and secure the larger box. Be sure to thoroughly tape it shut and if you're extra cautious, reinforce corners and seams with tape.
Now you're ready to take a trip to your local post office or other such shipping service and leave your package in their capable hands feeling confident Auntie will be pleasantly surprised with a box of cookies that look like they just came fresh from the kitchen.
Supplies
box to hold cookies
larger box to hold box of cookies plus packing material
sheets of bubble wrap
card board scraps
scotch tape
newspaper, or shredded paper, or decorative tissue paper, or peanuts, or cloth, etc.
shipping tape
Once your cookies are ready for packing, individually wrap each cookie. I like to seal my cookies with a heat sealer in small plastic bags but plastic wrap works as well. If you have larger cookies or cookies with fine extensions that can easily break, cut little pieces of cardboard that are just slightly larger than the cookie and lay the cookie on this before sealing in a bag or wrapping with plastic wrap. You can place two cookies with a piece of cardboard sandwiched in between. If your cookies aren't decorated or don't have a gooey top, you can stack them on top of each other and wrap them together.
Next, cut your bubble wrap so it will completely wrap around two cookies placed back-to-back or in the case of stacked cookies, around the lot, and then tape the bubble wrap securely. Once all the cookies are wrapped, place them into the smaller box. It's better not to pile cookies on each other as the weight of each other may cause breakage, so place them vertically in the box. If you have stacks of cookies, lay them on one side so all are vertical. You can line this box with bubble wrap or some other cushioning material if you so desire. Fill in any gaps between cookies and the box with packing material and then seal the box shut with shipping tape.
Take your smaller box and place it inside of the bigger box to estimate how much packing material you can fit around it. Remove the smaller box and line the base of the larger box with your chosen material, such as peanuts or newspaper. Now place your smaller box in the center of the padding and add more cushioning around the sides and on top of the box until it is completely encased in buffering material. Close and secure the larger box. Be sure to thoroughly tape it shut and if you're extra cautious, reinforce corners and seams with tape.
Now you're ready to take a trip to your local post office or other such shipping service and leave your package in their capable hands feeling confident Auntie will be pleasantly surprised with a box of cookies that look like they just came fresh from the kitchen.


 RSS Feed