Today's blog is brought to you by the letter "L" for leftovers.
Yes, leftovers. Those pathetic reminders of what was and the nagging feeling of what they could have been but never quite were...but today, today I will elevate leftovers from the infamy of forgotten places at the back of the fridge to the cake stand of magnificent! I will boldly go, where no caker has gone before....to the depths of the frozen waste lands of food faux pas...
Ok, I'm done being ridiculous...for now.
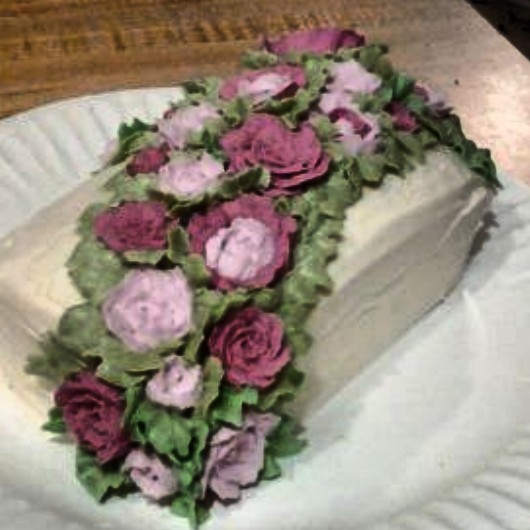
The three photos below are of my most recent mini tea cakes, and if it weren't for my utter disdain of waste...they would never have been. How sad would that be?!?! :)
Remember that cupcake bouquet for my niece? Well, by the time all was said and done, I had quite a bit of
leftover royal icing and vanilla cake batter.
Not wanting to throw perfectly good unborn desserts away, I baked up the batter into mini cakes and put them in
the freezer...with future plans already rolling about in my head. I also piped what felt like, to my very tired wrists and fingers, a million roses with the leftover icing.
Said roses and cakes have spent the past couple weeks carefully packed away, just waiting for the right moment...and then it came. My best friend's birthday!!!
I Just can't stand to let a birthday go to waste (are you sensing a pattern?)...so of course, it was time to release the leftovers and give them a nice up-cycle.
Sadly, the second cake was made for a much less happy event, but I'm a firm believer in the power of love shared in
the form of sweets.
I filled them with raspberry jam and made fresh buttercream to ice the cakes and for the leaves...which leads me to my next leftover adventure!!! More about that after you've feasted your eyes on these cute little bundles.
Yes, leftovers. Those pathetic reminders of what was and the nagging feeling of what they could have been but never quite were...but today, today I will elevate leftovers from the infamy of forgotten places at the back of the fridge to the cake stand of magnificent! I will boldly go, where no caker has gone before....to the depths of the frozen waste lands of food faux pas...
Ok, I'm done being ridiculous...for now.
The three photos below are of my most recent mini tea cakes, and if it weren't for my utter disdain of waste...they would never have been. How sad would that be?!?! :)
Remember that cupcake bouquet for my niece? Well, by the time all was said and done, I had quite a bit of
leftover royal icing and vanilla cake batter.
Not wanting to throw perfectly good unborn desserts away, I baked up the batter into mini cakes and put them in
the freezer...with future plans already rolling about in my head. I also piped what felt like, to my very tired wrists and fingers, a million roses with the leftover icing.
Said roses and cakes have spent the past couple weeks carefully packed away, just waiting for the right moment...and then it came. My best friend's birthday!!!
I Just can't stand to let a birthday go to waste (are you sensing a pattern?)...so of course, it was time to release the leftovers and give them a nice up-cycle.
Sadly, the second cake was made for a much less happy event, but I'm a firm believer in the power of love shared in
the form of sweets.
I filled them with raspberry jam and made fresh buttercream to ice the cakes and for the leaves...which leads me to my next leftover adventure!!! More about that after you've feasted your eyes on these cute little bundles.


So, after I finished these flappers, I had about half a cup of perfectly good buttercream frosting, just sitting in a bowl with no where to go. Then, a thought popped into my head.
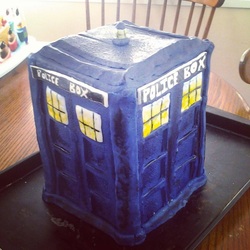
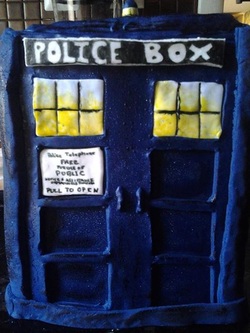
Remember my sister's Doctor Who cake? Well that bad boy left a mess of scraps and chunky crumbs after I finished hacking and shaping it. Again, the inner hoarder could not throw away the pile of moist, chocolaty mess.
So, here's what I did. I kneeded all the scraps together and shaped them into a dome then chucked 'em in the freezer. They've been there ever since...so guess what happened to the leftover buttercream...it gave new life to my chocolate mound and oh was it good!
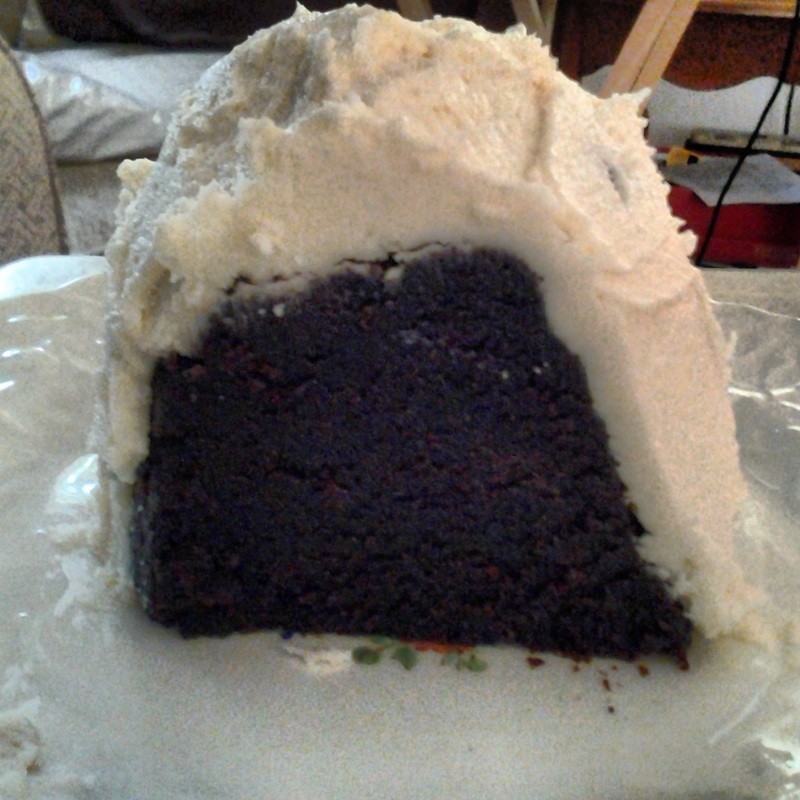
I admit, it's not one of my prettier creations, definitely the ugly child, but it did give me an idea for what I will do with all my future cake scraps and unused frostings. So here goes...
The Ghost of Caking Past or Birthday Cake Revisited
Recipe
Save all your cake scraps no matter the amount in an airtight bag/container stored in the freezer (mixing flavors works if they are complimentary).
Once you have a few cups worth, defrost and place into a large mixing bowl.
Add a 1/4 of buttercream frosting, or a small amount of milk, or some melted jam/chocolate. (Experiment and have fun! You can throw in other stuff too like chocolate chips, sprinkles, nuts, or fruit. Go crazy people! This is no time to be timid!)
Use your hands to mush it all together and work it into a congealed mass.
Place the lot into a lined pan, buttered mold, or just form it into a shape you find pleasing.
Now you can either store it in the freezer for future enjoyment or frost it for immediate gratification (fondant, ganache, or icing works too.)
Might I add, this process makes for a very dense, rich texture. Very yum. I suggest washing it down with a hot beverage or chilled milk.
And if that wasn't cool enough, leftover cookies can be reborn in a similar fashion, just chuck 'em in the food processor or mash 'em in a bag with a rolling pin and have fun!
It doesn't get much better than playing with your food :)
Much Sweetness!
~Lizbeth
 RSS Feed