Links
Lizbeth's
  • Home
  • Gallery
  • Edibles
  • Blog
  • Contact
  • Contest
  • Charity

Sweet Thoughts

"Let us celebrate the occasion with wine and sweet words."
~Plautus

Home

Robots for Hire: Birthday Party Specialists

11/21/2013

0 Comments

 
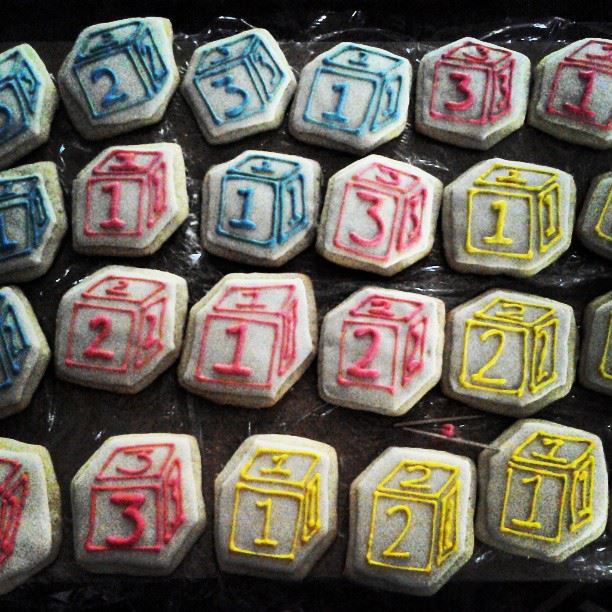
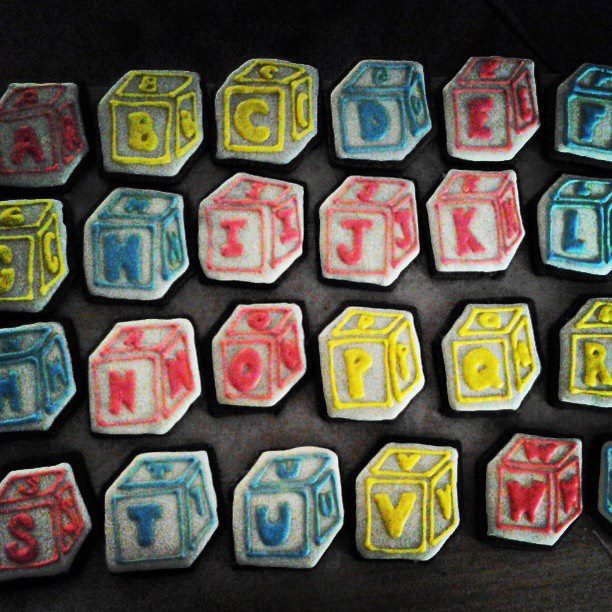
Apparently, November is the month to be born! I have two very special birthday orders for this weekend. This is order #1 for an adorable little guy who is turning 3. I hope he likes his cookies!

0 Comments

North Star Bazaar 2013

11/11/2013

0 Comments

 
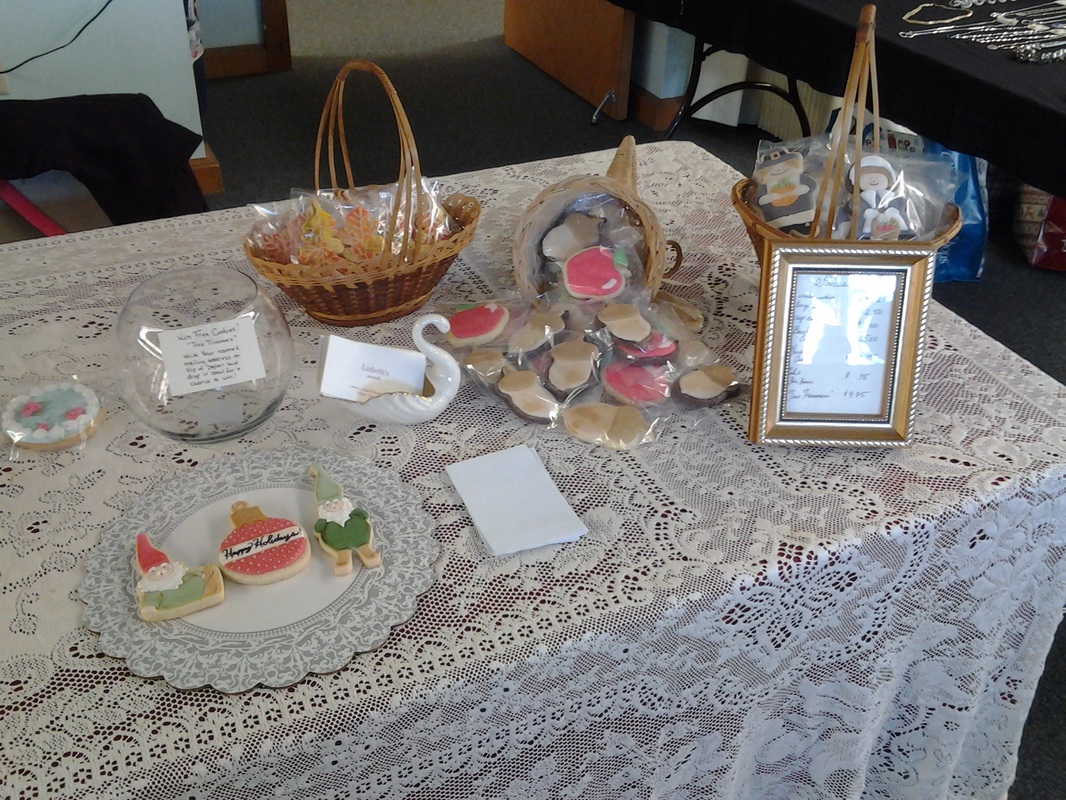
We're accepting orders for this Year's Christmas design "The Tree Trimmers." This set would make a great gift for teachers or hostesses. Perhaps a stocking stuffers? Or the perfect gift for that person you never know what to get.
Each set cost $9.95 which includes shipping and handling. All you have to do is fill out a form with the address and name of the recipient and we'll do the rest. All orders will be mailed the week before Christmas and will arrive fashionably wrapped with a holiday greeting card revealing the senders name. Doesn't get any easier!
Picture
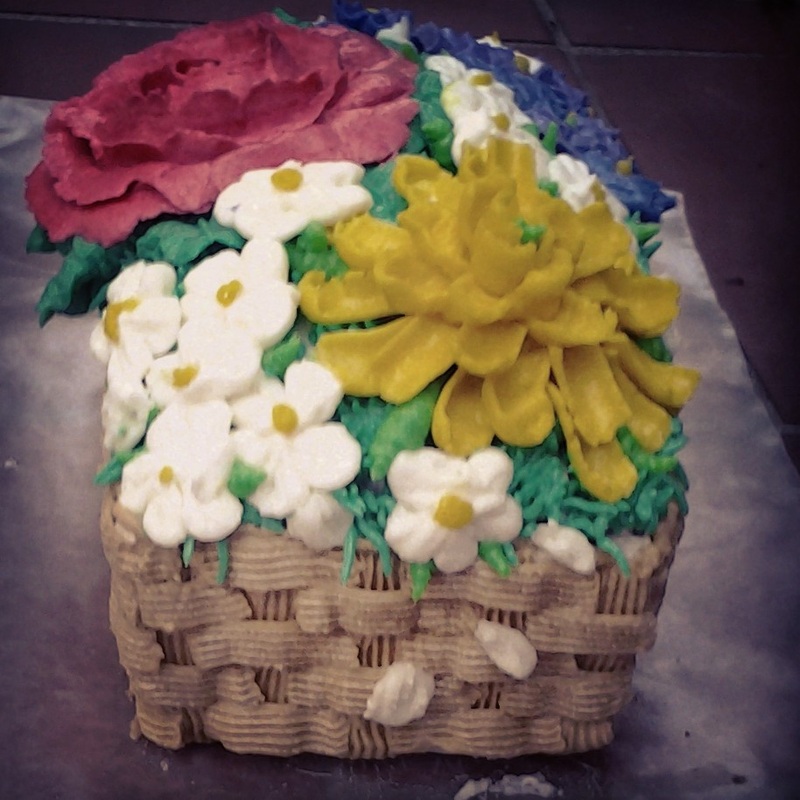
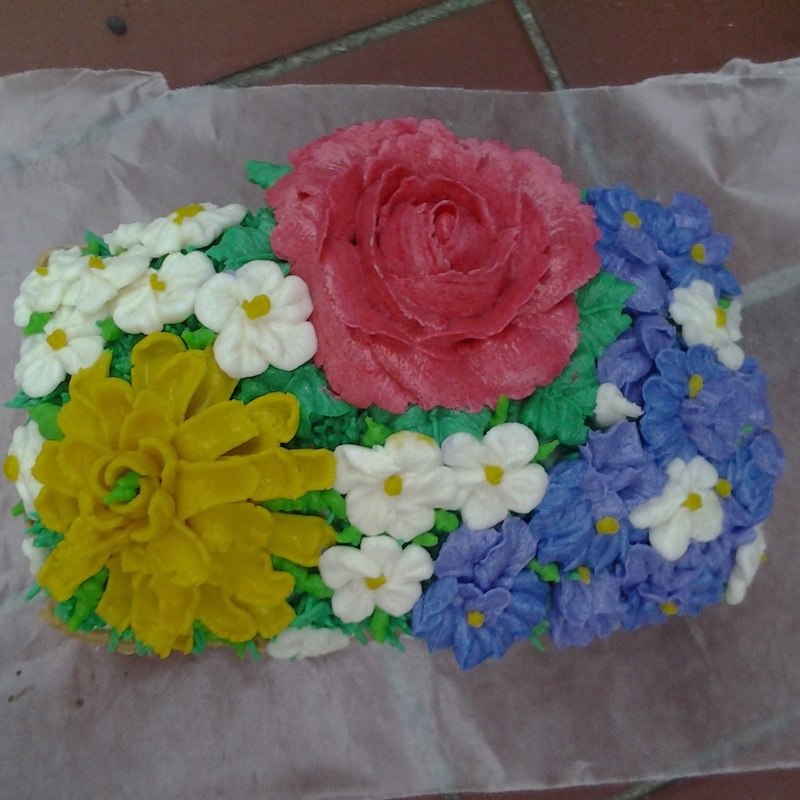
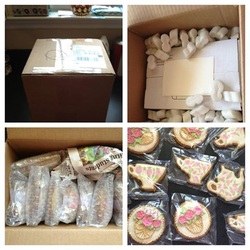
If you weren't able to get out to the Bazaar this weekend, here's a little peak at what ya missed!
0 Comments

Boss Appreciation Lady Leopard Style

10/23/2013

0 Comments


I have the most wonderful employer...no seriously I do. You should all be jealous! She is by far one of the most fabulous humans I have ever met and she constantly inspires me to be a better person!
So to give her just a little token of my appreciation, I made these babies.

0 Comments

Chat Noir

10/13/2013

1 Comment

 
So, sadly school and work have taken over my life and although I love both, I've been longing to decorate some sweets. Thankfully this Monday is Intermezzo...or for non musicians, Columbus Day, and I don't have school or work!!! HALLELUJAH!!! 
I finally had time to perfect my design conglomeration from two submission to the cookie contest. I'm very pleased with the results. Here's a little midway photo and then the finished batch. Enjoy :)
1 Comment

Pretty Cakes and Ideas for Leftovers

9/13/2013

0 Comments

 
Today's blog is brought to you by the letter "L" for leftovers.
Yes, leftovers. Those pathetic reminders of what was and the nagging feeling of what they could have been but never quite were...but today, today I will elevate leftovers from the infamy of forgotten places at the back of the fridge to the cake stand of magnificent! I will boldly go, where no caker has gone before....to the depths of the frozen waste lands of food faux pas... 
Ok, I'm done being ridiculous...for now.
The three photos below are of my most recent mini tea cakes, and if it weren't for my utter disdain of waste...they would never have been. How sad would that be?!?! :)
Remember that cupcake bouquet for my niece? Well, by the time all was said and done, I had quite a bit of
leftover royal icing and vanilla cake batter.
Not wanting to throw perfectly good unborn desserts away, I baked up the batter into mini cakes and put them in
the freezer...with future plans already rolling about in my head. I also piped what felt like, to my very tired wrists and fingers, a million roses with the leftover icing.
Said roses and cakes have spent the past couple weeks carefully packed away, just waiting for the right moment...and then it came. My best friend's birthday!!!
I Just can't stand to let a birthday go to waste (are you sensing a pattern?)...so of course, it was time to release the leftovers and give them a nice up-cycle.
Sadly, the second cake was made for a much less happy event, but I'm a firm believer in the power of love shared in
the form of sweets.
I filled them with raspberry jam and made fresh buttercream to ice the cakes and for the leaves...which leads me to my next leftover adventure!!! More about that after you've feasted your eyes on these cute little bundles.
So, after I finished these flappers, I had about half a cup of perfectly good buttercream frosting, just sitting in a bowl with no where to go. Then, a thought popped into my head.
Remember my sister's Doctor Who cake? Well that bad boy left a mess of scraps and chunky crumbs after I finished hacking and shaping it. Again, the inner hoarder could not throw away the pile of moist, chocolaty mess.
So, here's what I did. I kneeded all the scraps together and shaped them into a dome then chucked 'em in the freezer. They've been there ever since...so guess what happened to the leftover buttercream...it gave new life to my chocolate mound and oh was it good!
Picture
I admit, it's not one of my prettier creations, definitely the ugly child, but it did give me an idea for what I will do with all my future cake scraps and unused frostings. So here goes...

The Ghost of Caking Past or Birthday Cake Revisited 
Recipe

Save all your cake scraps no matter the amount in an airtight bag/container stored in the freezer (mixing flavors works if they are complimentary).
Once you have a few cups worth, defrost and place into a large mixing bowl.
Add a 1/4 of buttercream frosting, or a small amount of milk, or some melted jam/chocolate. (Experiment and have fun! You can throw in other stuff too like chocolate chips, sprinkles, nuts, or fruit. Go crazy people! This is no time to be timid!)
Use your hands to mush it all together and work it into a congealed mass.
Place the lot into a lined pan, buttered mold, or just form it into a shape you find pleasing.
Now you can either store it in the freezer for future enjoyment or frost it for immediate gratification (fondant, ganache, or icing works too.)
Might I add, this process makes for a very dense, rich texture. Very yum. I suggest washing it down with a hot beverage or chilled milk.
And if that wasn't cool enough, leftover cookies can be reborn in a similar fashion, just chuck 'em in the food processor or mash 'em in a bag with a rolling pin and have fun!
It doesn't get much better than playing with your food :)
Much Sweetness!
~Lizbeth
0 Comments

Birthday Surprise for my Niece! 

8/23/2013

0 Comments

 
Last week was my oldest niece's 6th birthday. My brother in-law and sister in-law commissioned me to make something girly and fun that would fit in with the "Dolly and Me" theme party tonight and this is what I made. A bouquet of flower cupcakes for the main display and regular sized flower cupcakes with matching dolly mini cupcakes for the kids. The painted set of cup and teapot cookies are the favors. 
I am falling in love with butter cream flowers. They are so much fun to make and eat! I also think the bouquet would make a great engagement party, bridal shower, baby shower or anniversary cake so I'm very excited to have it in my repertoire.
0 Comments

A Tisket a Tasket a Sweet and Pretty Basket

8/7/2013

0 Comments

 
Today I decided to bake myself a cake. I didn't want a full sized cake because then it would get stale before I could savor every bite, just a tea sized cake. At first I was planning to use a regular loaf pan, but then I remember I have a set of four mini loaf pans from Nordic Ware. These were the perfect size. I don't think I've ever made myself a cake before, but I'm glad I did because this is possibly my all time favorite confection creation so far. I'm kinda in love with it.
I'll be making these little treasures for the month of August at a ridiculously affordable price, as far as specialty cakes go. So if you're in the mood for a special treat and live in the Ocean County area, send me a message. And now you'll have to excuse me, I have some tea and cake to relish. 
Much Sweetness :)
0 Comments

Sugar & Spice

7/14/2013

1 Comment

 
I was given the special honor of creating cookies to celebrate the Grand Opening of a new children's boutique 'Sugar & Spice.' I finished up the final piping today and am wrapping and packing for early morning shipment. Hope you enjoy a peak at the unique treats for their exciting day!

Check 'em out http://www.sugarandspicechildren.com/default.html
1 Comment

Adventure with Modeling Chocolate

7/6/2013

0 Comments

 
Picture
My little sister and I are Whovians...for those of you who dn't know what that means, we love Doctor Who! This past Thursday was her 17th Birthday and she requested a cake that was either purple, musical, Doctor Whosical, or Spockable (Spock from Star Trek...we're also Trekkies). 
I spent a little time mulling these options over in my head and finally settled on making a Tardis cake. It's the first time I've ever attempted a "sculpted" cake and I think it turned out well for my first try, but why am I mentioning all this? Well, because in the process of making this cake I made the choice to try modeling chocolate over fondant and boy am I glad I did! It was a dream to work with compared to fondant and it really fortified the structure of the cake which fondant wouldn't have done, plus it tastes so yummy. Even if you don't have a cake to make, just mix up some modeling chocolate and get the kids or whoever is a kid at heart and start sculpting. It's basically edible clay. So here's a recipe for modeling chocolate. Go forth and play! 

Picture
*These are the ratios to chocolate as listed in The Joy of Baking. I actually played around with these measurements and used 4Tbls per 7oz of white chocolate and then tried 2Tbl per 7oz of white chocolate and found that both were too extreme but both still worked fine. One was just a bit sticky and the other a bit crumbly. So, depending on your climate and hand temperature, you might find different ratios give a better consistency. Either way, in my situation, the chocolate was manageable and did the job so don't be frightened, just try it out. 

Dark Chocolate Modeling Paste:
7 ounces (200 grams)bittersweet chocolate, chopped
1/4 cup (60 ml) light corn syrup

Semi-Sweet Chocolate Modeling Paste:
7 ounces (200 grams)semi-sweet chocolate, chopped
3 1/2 - 4 tablespoons light corn syrup

White Chocolate Modeling Paste:
7 ounces (200 grams)white chocolate, chopped
1 1/2 - 2 tablespoons light corn syrup

Milk Chocolate Modeling Paste:
7 ounces (200 grams)Milk Chocolate
2 1/2 - 3 tablespoons light corn syrup

Melt the chocolate in a double boiler or in a glass bowl in the microwave at 30 second intervals til all is melted silky smooth. If you just want a chocolate colored modeling chocolate, use something other than white chocolate and then get right to pouring in the syrup. If you want colored modeling chocolate, you can use already colored chocolates or if you only have regular white, just add the food coloring after the chocolate is completely melted. Gel food coloring is best. Now add your corn syrup. You can heat this up for about 30 seconds to make it easier to pour and incorporate or just spray your measuring spoon with pam so the syrup slips right out. Stir diligently til all is incorporated. Don't freak out if you chocolate looks like it is suddenly burnt, that's how it is suppose to look. It will turn thick and gross. Lay it out on a sheet of wax paper or parchment paper and lay another piece on top, then spread the chocolate into a thin layer. Leave it over night to cool. If you're in a hurry you can place it in the fridge, but I prefer the slow cool process. The next day, break or roll up the chocolate and knead it til it is pliable. You're ready to have fun!


0 Comments

Tips on Mailing Cookies

6/26/2013

0 Comments

 
Picture
It's Auntie Geraldine's 95th birthday and although Auntie lives in Montana and you live in Miami, FL, you are determine to treat your sweet loved one with a box of homemade cookies. You've toiled long hours pouring love into each step of the baking and decorating process and now it's time to ship these tiny messengers of birthday salutations to Auntie.  Suddenly, the horrifying image of your cookies being tossed onto a pile of battered boxes in the back of a UPS truck, sets your stomach upside down. Oh the horror! What to do? If you're at the point of checking your bank account to see if you can fit a flight to Montana in your budget, put your mind at ease because an ounce of prevention is worth a pound of cookie crumbs. Here is my personal method for shipping cookies. It is not a 100% guarantee that every cookie will arrive unharmed, but in my experience most, if not all are safe and the few damages that have been inflicted were minor. I've never had a loved one or customer receive a delicious box of crumbs.


Supplies
box to hold cookies
larger box to hold box of cookies plus packing material
sheets of bubble wrap
card board scraps
scotch tape
newspaper, or shredded paper, or decorative tissue paper, or peanuts, or cloth, etc.
shipping tape

Once your cookies are ready for packing, individually wrap each cookie. I like to seal my cookies with a heat sealer in small plastic bags but plastic wrap works as well. If you have larger cookies or cookies with fine extensions that can easily break, cut little pieces of cardboard that are just slightly larger than the cookie and lay the cookie on this before sealing in a bag or wrapping with plastic wrap. You can place two cookies with a piece of cardboard sandwiched in between. If your cookies aren't decorated or don't have a gooey top, you can stack them on top of each other and wrap them together. 
Next, cut your bubble wrap so it will completely wrap around two cookies placed back-to-back or in the case of stacked cookies, around the lot, and then tape the bubble wrap securely. Once all the cookies are wrapped, place them into the smaller box.  It's better not to pile cookies on each other as the weight of each other may cause breakage, so place them vertically in the box. If you have stacks of cookies, lay them on one side so all are vertical. You can line this box with bubble wrap or some other cushioning material if you so desire. Fill in any gaps between cookies and the box with packing material and then seal the box shut with shipping tape. 
Take your smaller box and place it inside of the bigger box to estimate how much packing material you can fit around it. Remove the smaller box and line the base of the larger box with your chosen material, such as peanuts or newspaper. Now place your smaller box in the center of the padding and add more cushioning around the sides and on top of the box until it is completely encased in buffering material. Close and secure the larger box. Be sure to thoroughly tape it shut and if you're extra cautious, reinforce corners and seams with tape. 

Now you're ready to take a trip to your local post office or other such shipping service and leave your package in their capable hands feeling confident Auntie will be pleasantly surprised with a box of cookies that look like they just came fresh from the kitchen.

0 Comments
<<Previous
Forward>>
    Instagram

    Author

    Elizabeth is a lover of tea time, classical music, art, and poetry. She started baking Christmas cookies with her mom when she was only three and her love for the art of cookie decorating has grown with her over the years. 

    Archives

    April 2014
    March 2014
    February 2014
    January 2014
    December 2013
    November 2013
    October 2013
    September 2013
    August 2013
    July 2013
    June 2013
    May 2013

    Categories

    All
    Afternoon Tea
    Antiques
    Beanilla
    Birthday Party
    Boss Appreciation
    Boutique
    Brooch
    Calligraphy Cookies
    Chicken Salad Recipe
    Concert
    Contest
    Cookie
    Cookie Crumbs
    Cookie Display
    Costume Jewelry
    Creative
    Cucumber Sandwich Recipe
    Cupcake Bouquet
    Design
    Display Ideas
    Doctor Who
    Dolly And Me
    Edible Clay
    End Of The Rainbow
    English Tea
    Event Display
    Finger Sandwiches
    Food
    Free Cookies
    Gingerbread
    Give Thanks
    Gluten Free
    Grand Opening
    Guitar
    Holiday Shipping
    I Love NJ
    JerseyGirlsTLC
    Leftovers
    Leopard Print
    Leprechaun Cookie
    Modeling Chocolate
    Music
    Music Cookies
    New Jersey Cookies
    NJ
    Photography
    Piano
    Pot Of Gold
    Prize
    Recipe
    Robot Cookies
    Roses And Lace
    Royal Albert Cookies
    Royal Icing Butterflies
    Sewing Cookies
    Shipping Cookies
    Shipping Tips
    Showcase
    Singer
    Special Event
    Sugar & Spice
    Tardis
    Tea Time
    Thanksgiving Cookies
    Turkey Sandwich Recipe
    Vanilla
    Vanilla Bean
    Vanilla Honey
    Vanilla Sugar

    RSS Feed


Powered by Create your own unique website with customizable templates.