Today I'm posting my first...sorta kinda tutorial of one of my cookie designs. I hope you enjoy!
~LizBeth
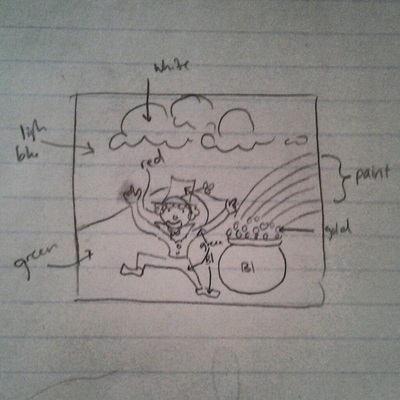
The Dream:
Before I make a cookie, I almost always sit down and sketch out my ideas. I like to label or color in my sketches so I know exactly what colors I need to prepare and when/where they will be used.
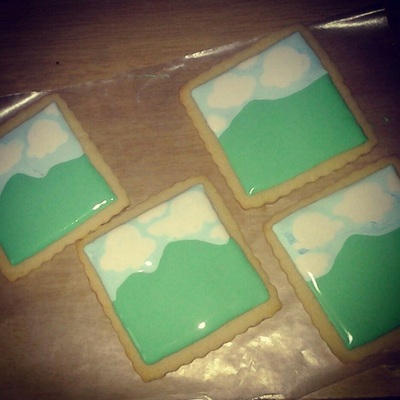
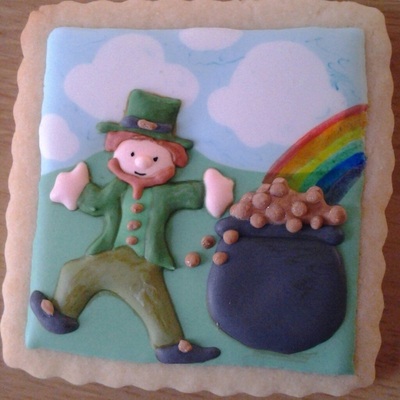
The first thing I did for this cookie was to create the background. I used a sky blue and forest green to create a horizon and then white in the wet-on-wet technique to make the clouds.
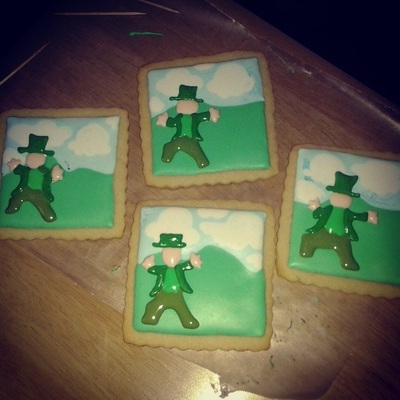
Cookies like this need to be worked in layers. After the background had dried for about 2 hours, I piped the portions of my image that would appear farthest back in perspective.
First I piped the flesh color which I got with a little bit of copper food gel, then the vest and pants and finally, the coat and hat.
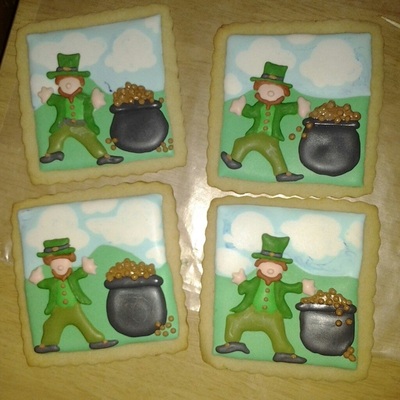
After the first piping dried for about half an hour I added the next layer. This included black boots, pot, hat band, gold, buttons, red beards, and a flesh tone nose. I allowed these to dry for another half hour and then I piped gold details on the shoes, hat band, and detailed coins on the gold background at the top of the pot.
This is when I put on the finishing touches. I used gold dust mixed with alcohol to make the gold accents sparkle. Brown food gel was used to create shading. The rainbow was painted on with gel food coloring.

 RSS Feed